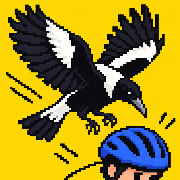
Read the threat before spending energy
A magpie’s warning is time to prepare, not a reason to hold duck indefinitely. Watch the approaching bird and the attack cue. Get low for its pass, then release when the danger has cleared. Timed ducks work against every swoop pattern, but only while you have the energy to perform them.
Keep watching the street beneath the bird. A sideways escape can put you into a bin, and a long duck can use the energy you wanted for the next hop. In a narrow section, a brief duck may be more useful than a sweeping turn across the road.
The pavement is part of the route, not a safe zone. Dogs and pedestrians use it, loose objects can reach it, and warning cues can arrive from beyond the visible edge. Do not park at one side and assume the centre is the only dangerous place.
The six swoop patterns
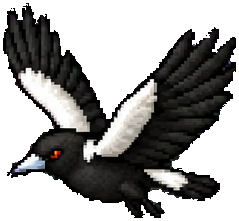
Watch the attack warning. Time a duck or move clear of the committed path.
These patterns are introduced through the ride’s progression. They are not all interchangeable dives, and a flock pattern is different from the larger SWARM encounter.
Dive
A targeted attack commits towards your position. Let the warning develop, then move clear of the committed path or duck as it arrives. Constantly moving early is not the same as reacting after the bird has committed.
Skim
This is a low pass. A timed hop can clear it, a duck can get underneath it, and steering out of its path remains an option without spending energy. Choose the response that also leaves room for the ground hazards ahead.
Claw
The bird sweeps across the street from the side. Duck through the crossing or change your pace to miss its contact line. If you have been relying only on left/right steering, this is a reason to learn braking as well.
Boomerang
Do not relax just because the first pass missed. Returning versions give another warning before a second pass. Watch for that return and be ready to change direction again or time another duck.
Pincer
Birds close in from both sides. A timed duck gets you under the crossing; the pace cue gives another way to move out of its timing. A large sideways swerve is not always the useful answer when both sides are involved.
Flock
A formation brings a sequence of passes rather than one contact. Read each beat, keep some energy for later birds and use the shown pace changes when you take that route through it. Surviving the first member does not end the pattern.
When energy is low, steering and braking still work. The patterns retain a movement-based way through; paying for a duck is a choice, not the only control you have. Review how to recover energy if your duck keeps running out.
SWARM: gathering, commitment, barrage
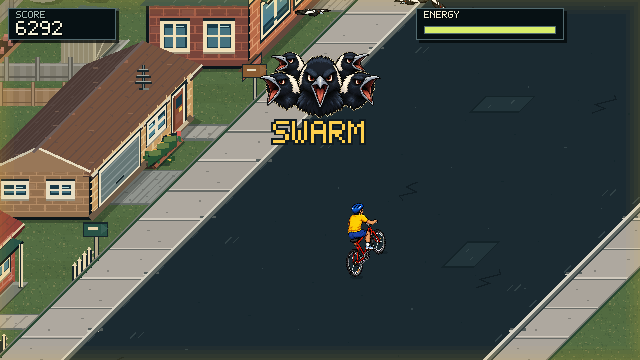
The SWARM heads announce the encounter before the flock attacks. Watch the warning, then each committed dive. Barrage length varies with encounter difficulty.
View screenshotThe angry heads and SWARM warning announce a larger encounter. Birds gather around the rider, then individual attackers track and commit to a dive. Watch the active attacker instead of trying to follow every circling bird at once.
- Use the gathering warning. Stop spending energy on a wheelie or unnecessary boost and get ready for the first pass.
- React to the commitment. Duck for the strike or move clear of its path. An attacker can track your earlier movement before it commits.
- Release and reset. There is a short beat between attacks. Do not assume the first successful dodge finishes the encounter.
- Finish the barrage. Save your next stunt for after the birds have cleared.
A first endless swarm starts with a shorter barrage. Later encounters can add attacks and tighten the rhythm as the ride progresses. Swarms are held back from the opening stretch, so learning basic steering and ducking comes first.
Do not hold one direction blindly. The next attack can come from another side. Make a deliberate dodge, find your space again and read the next bird.
Different streets need different lines
Bin Day
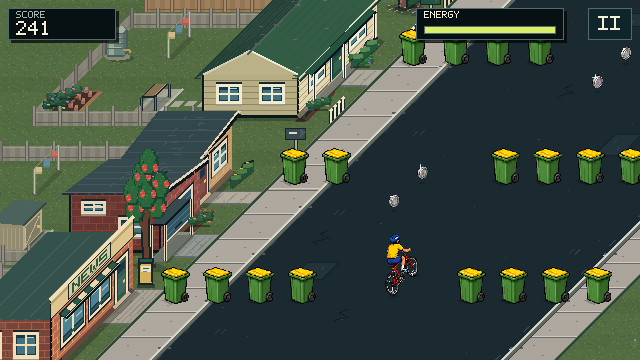
In-game demonstration: follow the gap through the bins and look one row ahead. This is a steering challenge, not a hop challenge.
View screenshotBin Day is a sustained field of bins with a moving gap through it. Look at the opening in the next row before reaching the current one. Shift into it smoothly, then hold your line until the next opening changes.
This is not a hop challenge. Bins are not low jumpable objects, and the pavement is also obstructed. The section stays continuous rather than breaking into repeated ramp gaps. Later versions change the path more quickly, so reading a row ahead matters more than making sharp last-second corrections.
Hose Gauntlet
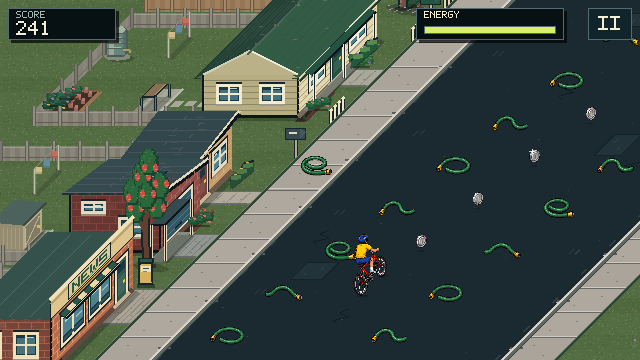
In-game demonstration: hoses leave a winding corridor. Make smooth corrections with the curve instead of treating it like a straight opening in a bin wall.
View screenshotHoses form winding trails along an S-shaped route. Follow the corridor between them instead of treating it like another wall of bins. Keep your steering moving with the bend, then straighten when the corridor does.
Hoses are low enough to hop if you have the energy and timing, but the clear path remains the energy-saving choice. Jumping every coil is unnecessary and can leave you short of energy when another threat appears.
Traffic Jam
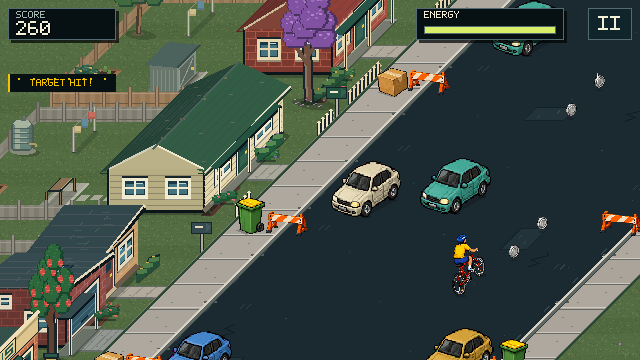
In-game demonstration: cars creep at different speeds, so watch their movement before passing through a gap. Pavement blockers prevent a permanent escape lane at the edge.
View screenshotTraffic Jam is a slow-moving queue. Cars stay in their lanes but creep at different speeds, staggering when they reach you. Read the opening ahead and time your steering between the vehicles; do not try to hop a car.
Early queues move gently. Later encounters have faster cars and more speed variation, with room to change direction between rows. A gap is still there, but a pass that worked in the last row may need different timing in the next one.
The cars stay on the road. Bins, boxes and kerb barriers obstruct the pavement bypasses, so riding at the extreme edge will not solve the entire section. Look for the next usable road opening before leaving the one you have.
Park Edge, Dog Territory and Magpie Turf
Park Edge mixes moving playthings such as balls and skateboards. Dog Territory makes roadside warnings and crossing timing the focus. Swoop School and Magpie Turf put the birds’ different attack patterns in the spotlight. The section name is your cue to change what you are watching, not just a new label on the same stretch.
The Bread Run
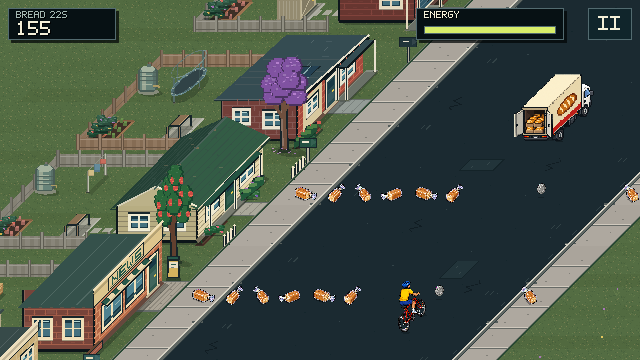
In-game demonstration: the truck swerves and drops bread behind it. Watch the next opening form and steer into that space. Loaves are hazards, not pickups.
View screenshotA bakery truck drives ahead of you, swerves along the road and drops loaves behind it. The encounter lasts 30 seconds of active play before the truck drives away. Braking helps you manage the next drop, but it does not turn the encounter into an endless slow chase.
Watch where the truck is moving and where the falling loaves settle. Each drop leaves an opening, marked by a shiny. Follow that opening across the road rather than chasing directly into the bread. The truck’s movement advertises the next gap; it is not trying to copy your current steering.
Loaves are obstacles, not pickups. You can hop a low loaf when necessary, but steering through the opening costs no energy. Later Bread Runs use tighter gaps and quicker, varied drop rhythms. Keep planning one drop ahead until the truck has departed and the last bread has passed.
Dogs, pedestrians and loose objects
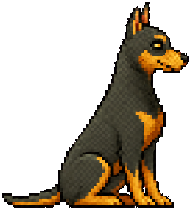
Watch for the bark and tell. Brake or steer clear; do not hop the dog.
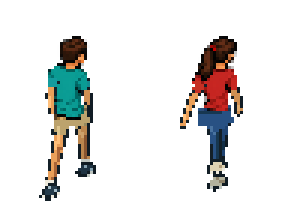
Leave space on the pavement. Steer around people; do not try to hop them.
A barking dog is a warning
A roadside dog gives a visible tell and a bark before sprinting across. Watch the pavement and leave yourself time to brake or steer around its path. Dogs are not hop targets. Slowing down changes when you reach the crossing; it does not slow the dog’s animation into an easier obstacle.
Later dog encounters can arrive in pairs, so do not accelerate straight into the space behind the first dog without checking the second. The visible warning matters even if your phone is muted.
Pedestrians belong on the pavement
Walking neighbours use the side paths. They are another reason not to treat a pavement as a permanent escape lane. Leave room around the person rather than trying to scrape through their feet, and check the road before returning to it.
Not everything moving needs the same response

Read its crossing. Steer around, change your timing or hop over it.
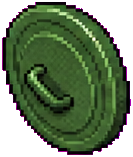
Watch the rolling crossing. Steer, change pace or time a hop.
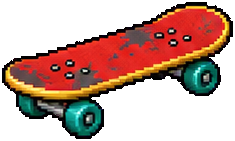
Let it cross, move around it or hop with enough energy.
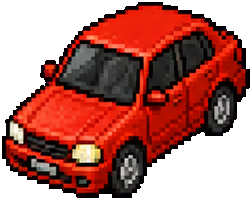
Give the car room and time your pass. Cars cannot be hopped.
Balls, rolling lids and skateboards cross the street. These low objects can be hopped, or avoided by changing your line and timing. Oncoming cars need space instead. Cone, pothole, hose and bread hazards can also be hopped, but a clear steering route lets you save that energy for a bird.
The road hazard spotter’s guide
Recognise what is ahead before choosing your move. Low obstacles can be hopped, but tall bins and boxes need a clear route around them. None of these objects are pickups.
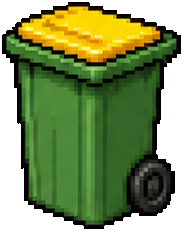
Look for a gap and steer through it. Bins cannot be hopped.

Keep clear of the box. Steer around it; do not try to hop it.
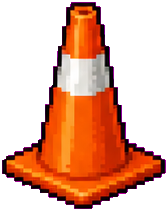
A low hazard: steer around it or time a hop.
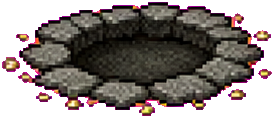
Avoid the broken road or hop across with enough energy.
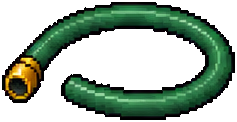
Follow the clear line or hop a coil. Steering saves energy.
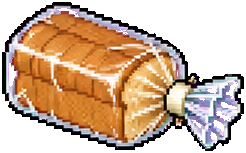
A hazard, not a pickup. Dodge the loaf or hop over it.
Keep looking beyond the object you are passing. A successful hop still needs a clear landing, and saving energy with a small steering correction can leave you ready for the next swoop.
How the ride gets harder
Endless difficulty uses both distance travelled and active ride time. It is not a random roll that can suddenly give you the hardest version at the start. Encounters have staged difficulty, and first meetings are limited so a new rule has room to be understood.
As the ride develops, more themes become eligible, paths get more demanding and familiar encounters can return at greater strength. Completing a section cleanly helps earn those harder returns. Themes are shuffled with protection against recent repeats; the route changes without making every return a completely unfamiliar rule.
Later Bin Day, Hose Gauntlet and Traffic Jam sections can add magpie attacks on top of the ground challenge. Keep the corridor first, then duck or make the smaller movement the bird requires. Do not abandon a useful gap for a full-width swerve unless the space is really there.
For your next ride, choose one thing to improve: brake before the dog crossing, lower a wheelie before Bin Day, or release duck between swarm attacks. A clear decision to practise is more useful than trying every advanced move at once.